Upgrading your Fitbit experience with a new band can be both exciting and daunting.
With a variety of Fitbit models, bands, and attachment mechanisms on the market, it’s essential to understand how to change your Fitbit band with ease.
This comprehensive guide will walk you through the process, ensuring a smooth, secure, and stylish transition.
I. Understanding Fitbit Band Compatibility

Fitbit offers a range of devices, including the Fitbit Versa, Fitbit Ionic, Fitbit Inspire, and Fitbit Charge, each with its own band compatibility.
To find the right band for your Fitbit, first, identify your device model and then explore the recommended bands for that specific model.
Keep in mind that different bands may offer varying levels of comfort, durability, and style.
II. Essential Tools and Precautions for Changing Your Fitbit Band
Before diving into the band-changing process, gather any necessary tools such as a small pin, tweezers, or a quick-release tool.
Prepare a clean, well-lit workspace to prevent losing any small components. Handle your Fitbit device with care, avoiding excessive force or bending that could damage the device or the bands.
III. Step-by-Step Guide to Changing Your Fitbit Band
A. Removing the old band
- Locate the band latches, which could be pin-release, latch-release, or quick-release mechanisms, depending on your Fitbit model.
- For pin-release bands, use a small pin or similar tool to gently push the pin and release the band from the watch. For latch-release bands, slide the latch to release the band. For quick-release bands, press the quick-release lever and gently pull the band away from the watch.
- Repeat the process for the other side of the band.
B. Attaching the new band
- Align the new band with your Fitbit device, ensuring that the attachment mechanisms match and the strap’s buckle is on the top half of the device.
- For pin-release bands, insert the pin into one side of the band’s attachment point, then gently push the other end into place. For latch-release bands, slide the band onto the watch, ensuring the latch clicks into place. For quick-release bands, align the band’s pin with the attachment point and press down on the quick-release lever, then gently push the band into place.
- Repeat the process for the other side of the band, ensuring both sides are secure.
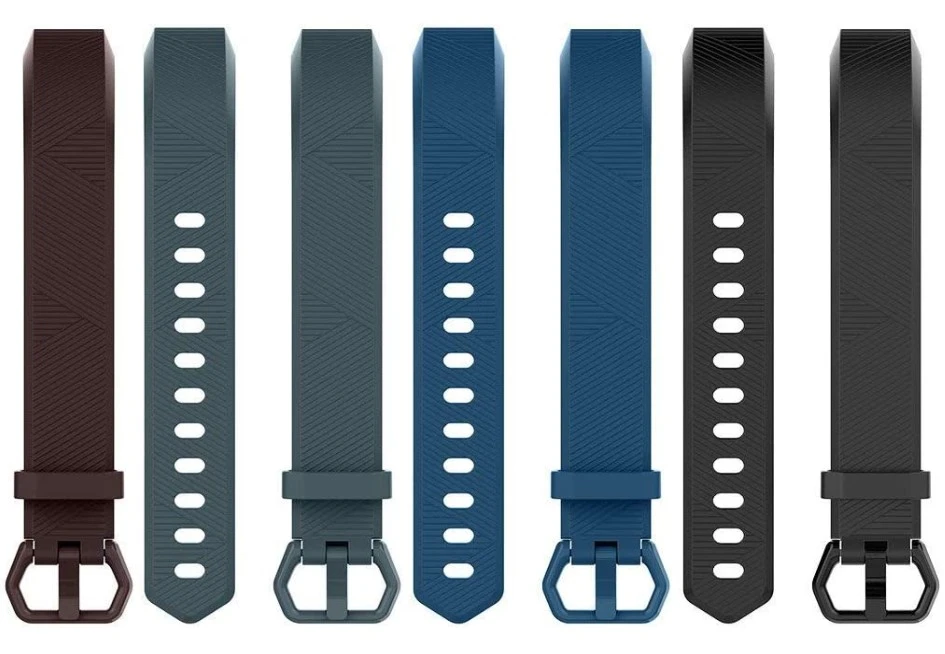
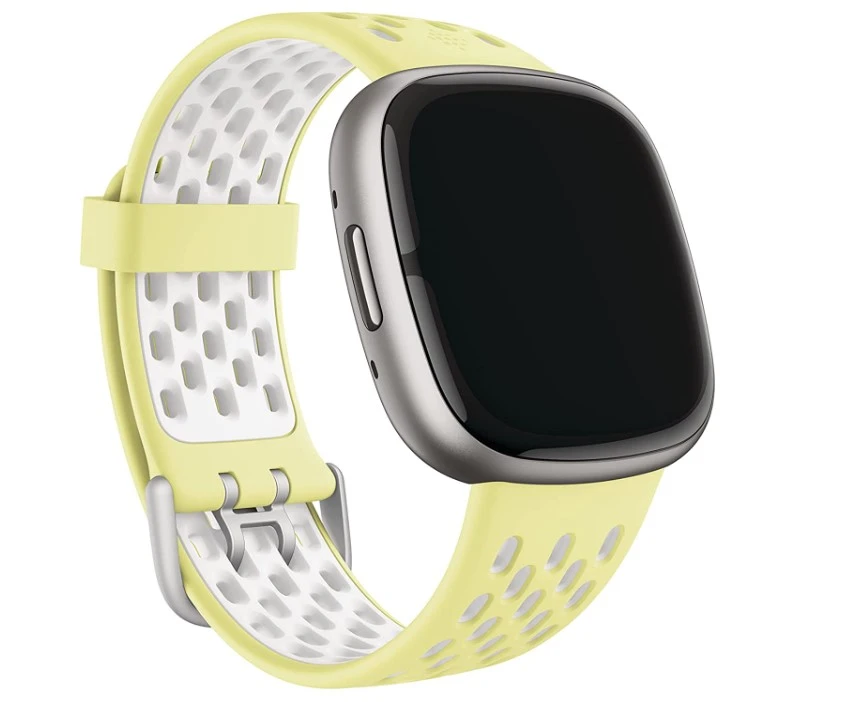
IV. Customizing Your Fitbit Band for Comfort and Style
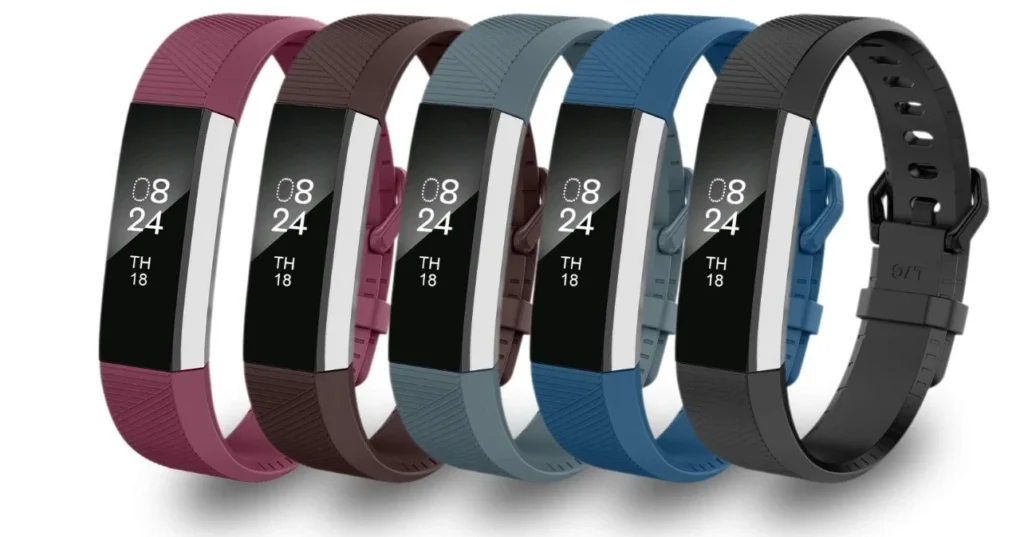
With a multitude of materials, such as silicone, leather, metal, and woven bands, it’s easy to find the perfect fit for your lifestyle and preferences.
Explore various styles and colors to personalize your Fitbit experience. Remember to consider your wrist size and choose between small and large bands for optimal comfort and tracking accuracy.
V. Maintaining and Cleaning Your Fitbit Band
Regular cleaning and maintenance can help prolong the life of your Fitbit band. Follow specific cleaning instructions for each band material to prevent damage.
Replace your band if you notice signs of wear and tear, such as fraying, discoloration, or loss of elasticity.
VI. Troubleshooting Common Fitbit Band Issues
Occasionally, you may encounter issues with your Fitbit band, such as an insecure fit, skin irritation, or interference with device performance.
Refer to Fitbit’s support resources or online forums for assistance with troubleshooting these problems.
Conclusion:
Changing your Fitbit band is an easy and effective way to personalize and upgrade your wearable technology experience.
This detailed guide has equipped you with the knowledge and confidence to change your Fitbit band effortlessly. So, go ahead and customize your device to match your unique style, preferences, and needs.
With a variety of bands to choose from, you can seamlessly transition between different looks, materials, and functions, ensuring that your Fitbit Sense 2 is the perfect companion for your fitness journey and daily life.
Stay stylish and comfortable while enjoying the many benefits of your Fitbit device, and never hesitate to switch bands to keep your wearable technology looking and feeling fresh. Happy customizing!
FAQs
How do I know which Fitbit bands are compatible with my device?
First, identify your Fitbit model, such as Fitbit Versa, Fitbit Charge, or Fitbit Inspire. Then, research the specific bands designed for your device. Keep in mind that compatibility may vary across different versions of a model, like Fitbit Versa 2 and Fitbit Versa Lite.
How do I remove my current band?
Locate the band latches on your device, which can be pin-release, latch-release, or quick-release mechanisms. Use the appropriate method for your device to release and gently pull the band away from the watch. Repeat the process for the other side of the band.
How do I attach a new band?
Align the new band with your device, ensuring the attachment mechanisms match. Depending on the type of latch your device has, either insert the pin, slide the latch, or press the quick-release lever to secure the band. Repeat the process for the other side of the band.
How do I choose the right size and material for my new Fitbit band?
Consider your wrist size and choose between small and large bands for optimal comfort and tracking accuracy. Explore various materials like silicone, leather, metal, and woven bands to find the perfect fit for your lifestyle and preferences.
How do I clean and maintain my Fitbit band?
Follow specific cleaning instructions for each band material to prevent damage. Regular cleaning and maintenance can help prolong the life of your band. Replace your band if you notice signs of wear and tear.
What if I have trouble attaching or removing my Fitbit band?
If you encounter difficulties or if the band feels stuck, avoid using excessive force. Refer to Fitbit’s support resources or online forums for assistance with troubleshooting any band-related issues.
Can I switch between different bands for various occasions?
Yes, you can switch between bands to match your outfit, activity, or mood. Just ensure that each band is compatible with your device and follow the proper steps for removing and attaching the bands.